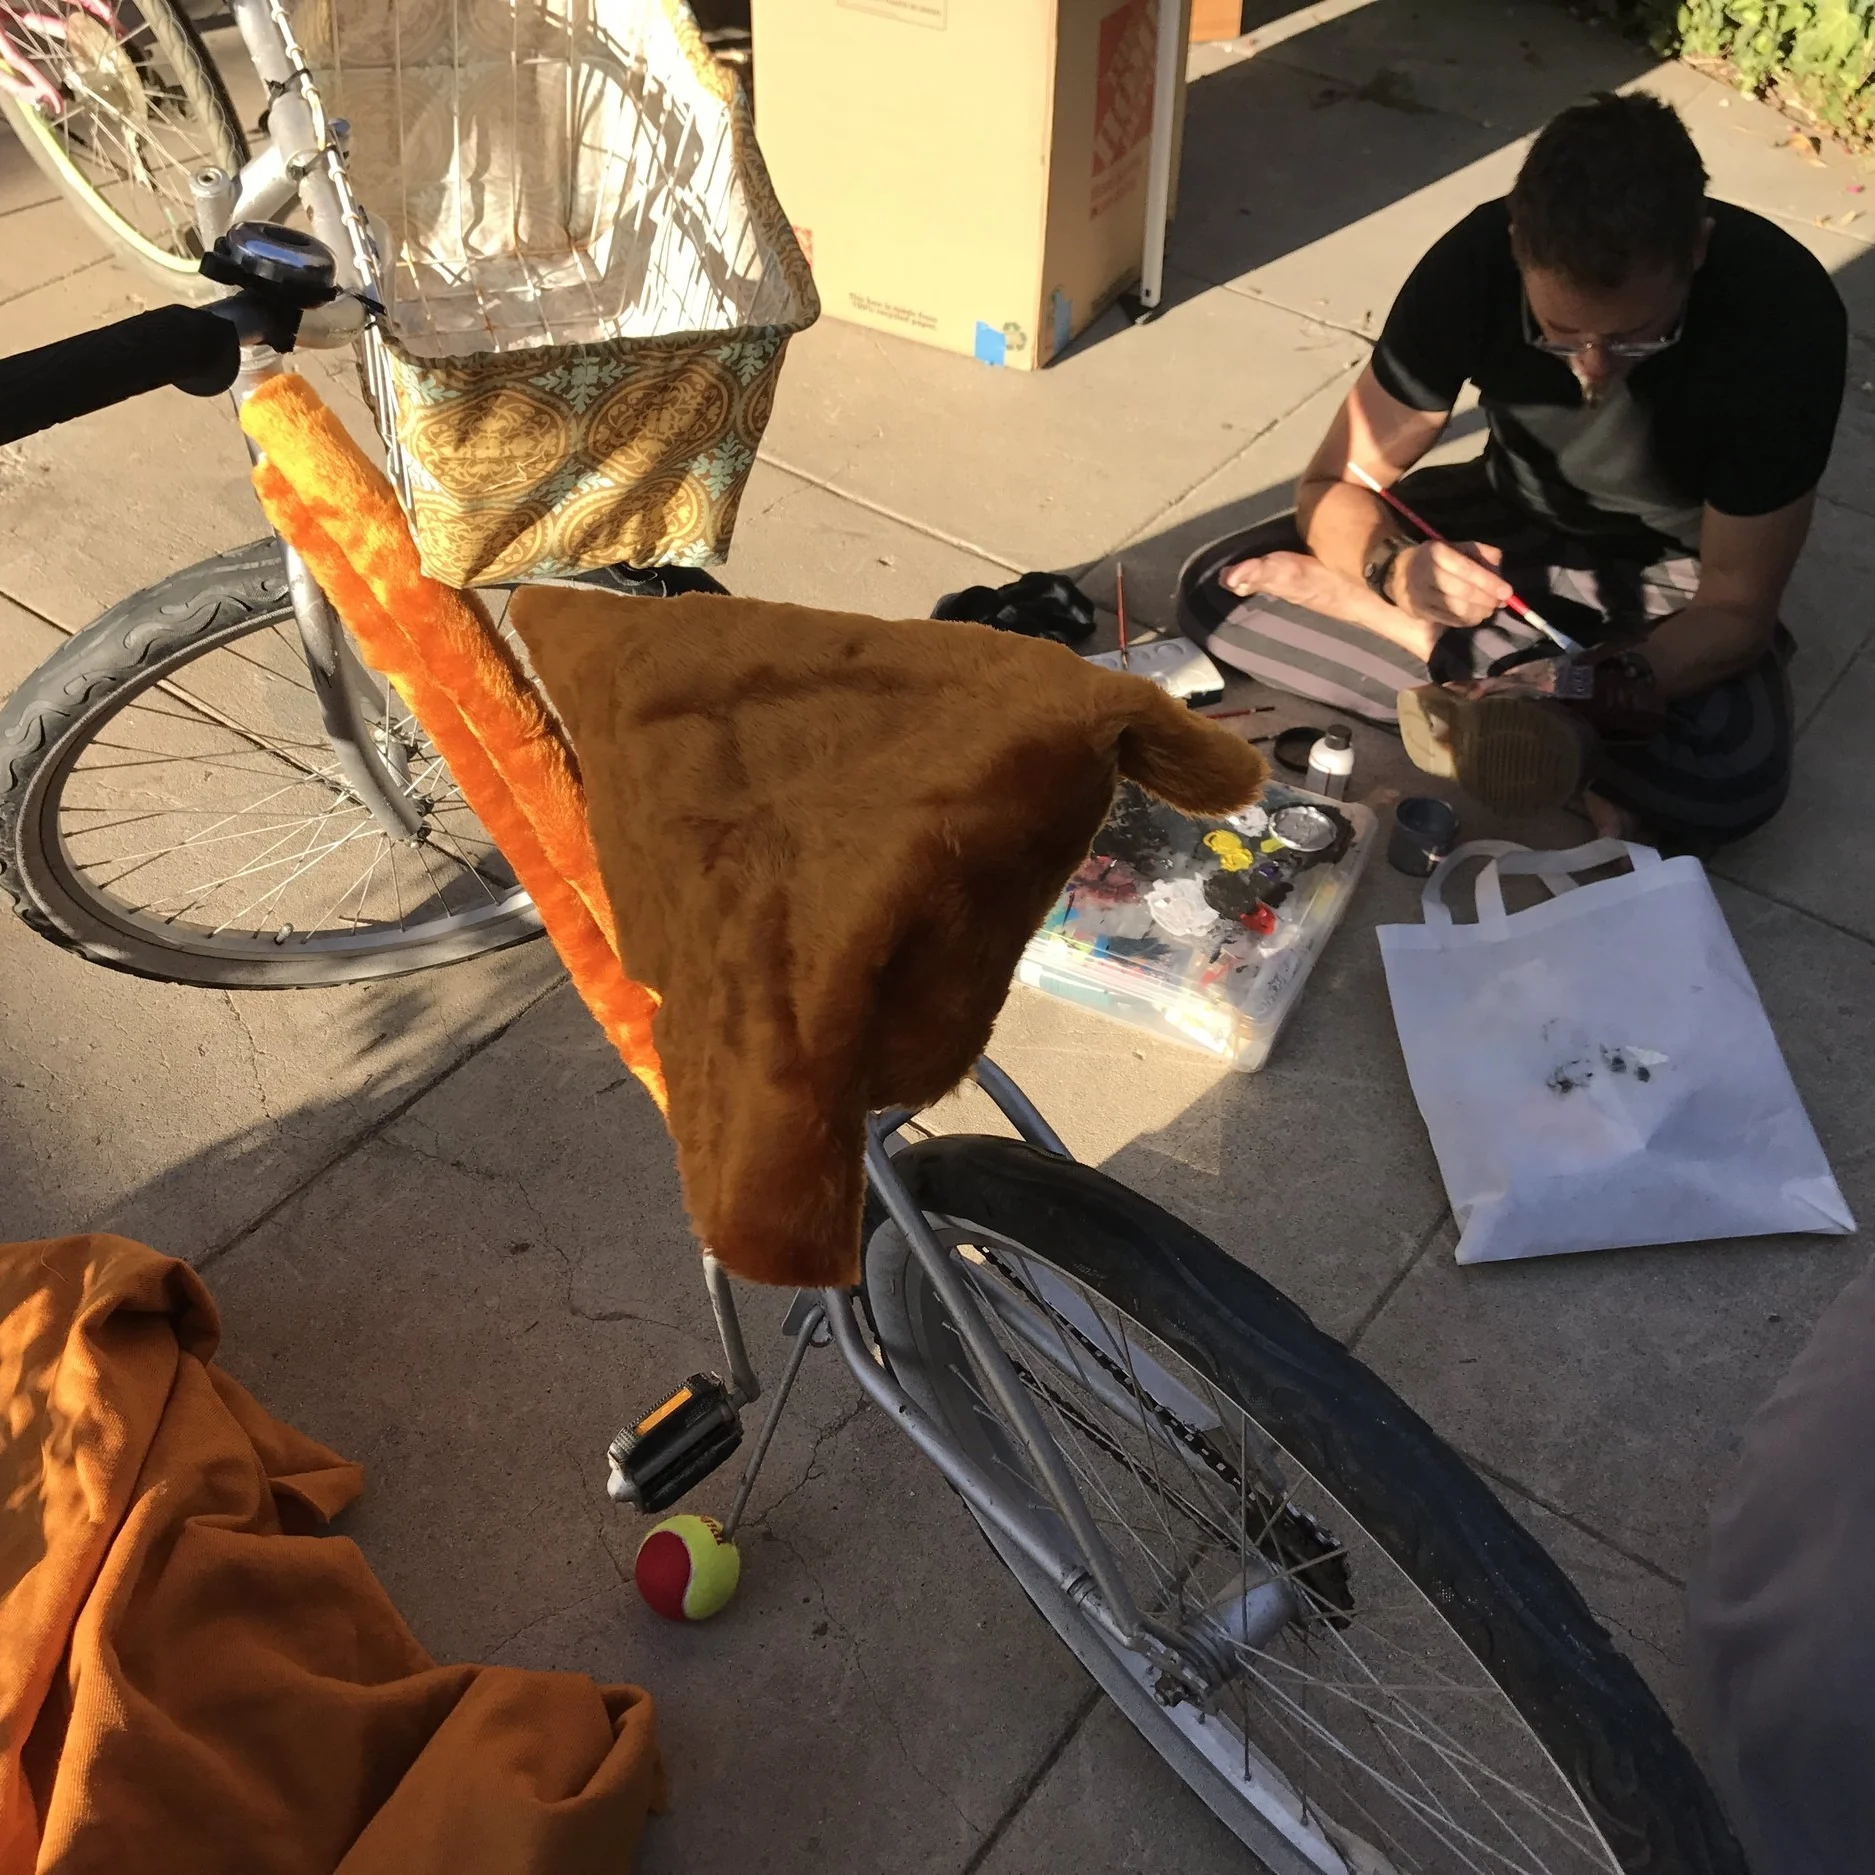
Having a bicycle at the Burn is something I recommend for everyone. Anything with knobby tires and a comfy seat can handle the terrain. But if you want to ride with style I've put together this short tutorial with suggestions for customizing your playa bike:
Supplies
Bicycle
Bike Basket
Twinkle Lights
Handle Bar Decor: Flowers, fringe, ribbons
Faux Fur Fabric
Step 1. I started measuring the frame and then covering it in fur. The bike had been painted for a previous burn, and I wanted to cover up the paint. You can hot glue the fabric on if you aren't comfortable sewing, but the heat can soften the glue so you may need to repair on playa - I'd bring safety pins for repairs.
Step 2. Once the frame was done I went ahead and covered the seat with fur. I started by loosely placing my fur over the seat and and cutting out a square piece that would be large enough to tuck under the seat. I sewed one back corner down to create tension, then the other back corner before tackling the front of the seat. I folded the fabric as if it were origami to tuck in the excess.
Step 3. I attached the basket and lined the exterior with fabric. This is another chance to just glue the fabric if you are not familiar with sewing, but in this case I hand sewed the fabric to the basket. Once the fabric was on I used a fur trim to cover the top of the basket.
Step 4. Once the fur and fabric was in place I used large flowers to line the handlebars. Most fake flowers are only loosely attached to their stem, so before I attached them I pulled them off their stem and put hot glue on the end and then reinserted them. This way they are a lot less likely to become moop. Most of these flowers already come attached to strong wire, so I cut the stem at the length I liked and wound the stem around the handlebars.
You can add anything to the handlebars that you like. It would be easy to line them with fur like the frame, additional fabric, a funky fringe, or streaming ribbons.
Step 5. Using four strings of rainbow twinkle lights I wound the frame and then the tires to make the bicycle visible at night. I mounted the battery pack for the first row of lights under the seat with electrical tape. I mounted the second on the other side of the crank, and the ones for the tires were taped to the spokes. For the tires I wrapped the wire around each spoke to create the effect. Don't forget to also include safety lights for both the front and the back of the bicycle.
Also, you may have noticed the tennis ball on the kickstand. This will help your bike to stay upright when parking it in the dust.


